Mostrando entradas con la etiqueta puzzle. Mostrar todas las entradas

sábado, 14 de enero de 2023

Teaching Writing to your Kindergarten English Language Learner

 Reading and researching a little on the topic, I noticed that I do include almost all that the kids needs to develop the pre-writing skill much needed in the future school years. Consider that each student have different needs that you might have to address.

I will go directly to the things that you can include in your lesson plan to reinforce the fine motor skills in your students.

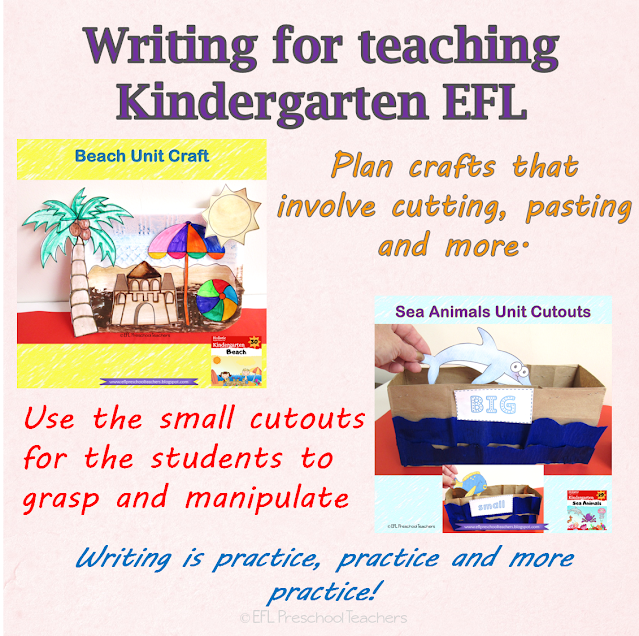
1. Crafts! I know many teachers think it's a waste of time and a mess. I would do lots of crafts for the Holidays mainly. Students love it and cutting, pasting and manipulating the supplies is so good for them.

2. Cutouts. I include cutouts in all the resources. Here is an example of a sorting the cutouts into big and small. Students will use their fingers to manipulate the cutouts and put them in the corresponding bag.

Teaching Writing to your Kindergarten English Language Learner

3.Drawing. Students can draw on a blank paper the family, their pet, their favorite toys, anything that you are teaching. I have an example here of a worksheet that the students have to draw the hat of the community helper that they would like to be in the future.
4. Clothespin. Use the clothespin to play several games in class. The use of the fingers to grasp them is a great exercise.
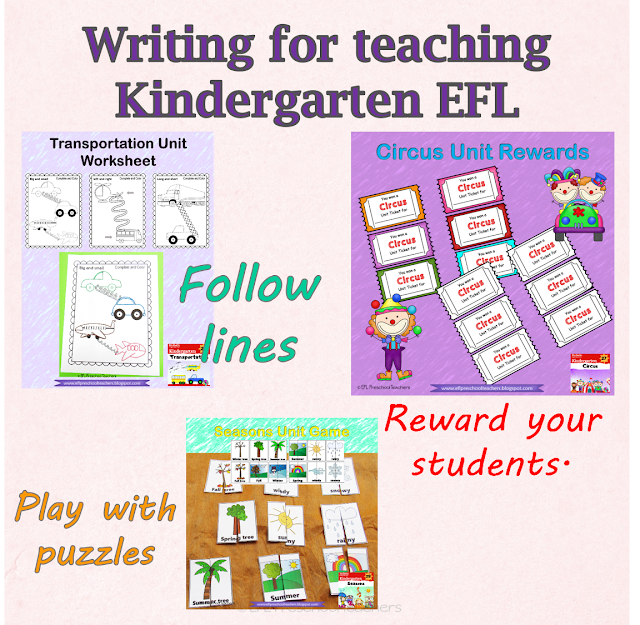
5. Scissors and glue. Any worksheet or activity that includes cutting and gluing, that involves the scissors and sqeezing the glue.


6.Copying. Some students are at the copying words phase. Give them fun foam letters, dollar tree letters or magnetic letters so they can write words that you are teaching. I use the small cards from all the resources that I create.
7. Tracing. It is easy and fun for students to achieve it. After the tracing I love making puppets for other games in class.

8.Make books. The books that I have for each unit comes with a tracing sentences if your students are up for it, if not, it doesn't make a difference. But just making their own book, either a group book or an individual book, gives them a sense of value of writing.
9. Throw the bean bag game. If you make a bean bag, use as often as you can to enhance the hand-eye coordination. Use it with flashcards,small cards, cutouts, anything.

game

10.Follow the lines. It can be a worksheet or lines on the floor made with chalk, masking tape.
11. Puzzles. Students will have to use their hands to move the pieces. I include one or two on each unit. It is a game that students can play in small groups.
12. REWARD. Above all, reward your students. They are making an effort. There is a reward for each unit as well.

REWARD

Hope these ideas are useful for you. Please Subscribe to my newsletter with all the freebies of the week to teach Kindergarten English Language Learners. You can download them now!

https://mailchi.mp/8a6a7df73d94/youll-love-these-resources

newsletter

martes, 21 de junio de 2022

Communicative language teaching for Kindergarten

 "Communicative language teaching (CLT), or the communicative approach (CA) , is an approach to language teaching that emphasizes interaction as both the means and the ultimate goal of study." Definition by Wikipedia.

Communicative language teaching (CLT)

There is a lot of information on this approach for teaching adults but almost none for teaching early childhood as a second language (ESL) or a foreign language (EFL). That leaves us to adapt the approach to the young learners that we have in class. Our mail goal or objective is that our students will be able to communicate in English according to their age.

That' s why we have to create many resources to teach the students and have them available for the students to interact in English such as games. All children love games, I create a variety of games that are great for the age range, such as game boards, domino, file folder games and more. The intention is that they play on their own and speak English as they do.

I also have two games that are puzzle-solving oriented: puzzles and half card games. Those are great for pair work.

Role-playing is easy if you have the materials to prompt the language. Masks and puppets are wonderful for the littles ones as they become shy to speak English in front of the class. These resources are good to have in hand to model dialogues.

All my resources are here:

miércoles, 7 de octubre de 2020

Day 7 of the 31 days of Halloween 2020 New Resources for ESL or EFL Students

 LINK to the Halloween resource: https://www.teacherspayteachers.com/Product/31-days-of-Halloween-for-Kindergarten-and-Elementary-ESL-6087756


Day 7.  Tracing cards and feed me box!!  

The tracing cards are meant to be used with students that starting to write in their mother tongue and are ready to try to do it in English. There is a colored versión that can be used with a clear plastic sheet or laminated. With a dry erase marker all the words can be traced.


There is the black and white versión in which students can color the pictures and trace the words. Then cut into cards.


I made a feed me box, it has been a great activity for the little ones. I used a cereal box.

Students will feed the Jack-O-Lantern with the cards that has the ítem that you name or call.
Teacher: Feed the Jack-O-Lantern the pail.

The magnetic letters can be pulled out again for writing using the cards.


Make puzzles!


I am sure you can think of more games and activities, leave me your idea below. A printable book for the Halloween Unit!

https://eflelementaryresources.blogspot.com/2020/10/day-8-of-31-days-of-halloween-2020-new.html

Follow me!

martes, 3 de marzo de 2020

Birthday Unit Worksheets- part 3

Almost done with the birthday unit. I had some worksheets from previous years and made extra ones. I added them them to the same product from the previous blog post about the Birthday Unit Vocabulary. 
Worksheet 1. A simple worksheet to review a basic grammar point. Then, students cut the pictures and sentence and write more sentences on their notebooks.

Worksheet 2. This is a reading and coloring the picture worksheet.
I used a finger eye to read. I don’t remember where I got them. Watch the video.
Worksheet 3. Instead of color by number , it is a color by word. After the worksheet is done the children cut it up and have the student next to him/her glue the puzzle worksheet on the notebook.

Worksheet 4. This worksheet is useful for lower level students.
When the students have to do a matching word to picture I ask them to use a different color for each word.

For the numbered cupcakes, dictate  the color for each one.

Teacher:  Cupcake number one is red.

Worksheet 5. Dictate the color of each cake. When you do this it helps with listening.

Teacher:  Cake number one is purple.

Have the students color the number as you dictate.

Teacher:  Number one is blue.

Students cut and paste the numbers where they belong.

Once the worksheet is completed, make a mobile by hanging the cakes in the correct number sequence.
Worksheet 6. After the worksheet is colored, students can cut all the cakes and write a sentence describing each one on their notebooks.
Worksheet 7. Decorating a cupcake should be fun! Have the students add anything they want such as real sprinkles to decorate their personal cupcake.
Worksheet 8. I made two versions for this worksheet. It is an already colored worksheet that you can place into a clear plastic sheet and students can write using a dry erase marker.
                                   The other version is a normal worksheet.
Worksheet 9. Another read and color worksheet. Thinking that the cake can be turned into a puppet for reading.
scuola primaria
Worksheet 10 and 11. I included easier to complete worksheets for the lower level students that you might have.


Worksheet 12. For more advanced students this worksheet is great. After the worksheet is done, cut it all and make a match game.

Worksheet 13. After the students complete the worksheets do a little listening as you dictate the colors of all the vocabulary words. 
Teacher: Color the lemonade yellow.
Have the students cut the sentences and pictures and glue on their notebooks as they match them.
Worksheet 14. The questionnaire. Have the students walk around asking questions to their classmates and completing the questionnaire. Students can write the results on their notebooks.

There will be another blog post with  more resources for the Birthday unit. Follow me!!


viernes, 9 de agosto de 2019

School unit flashcards for ESL students


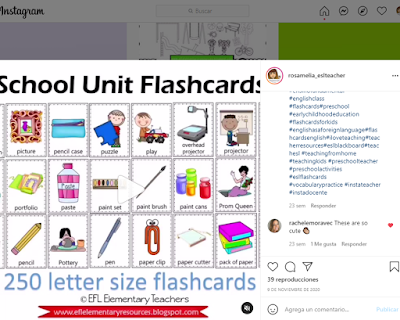
I updated the school unit flashcards. I thought that adding more words and using nicer clipart would be a bonus for teachers. Many of you have bought it and now you will have both versions. If there are words that you would like me to add, let me know.

More than 250 flashcards for the classroom objects on this resource and just a few tips on how to use them in class. You can use my flashcards or the ones that come with your book series.Link: 
https://www.teacherspayteachers.com/Product/School-Theme-Flashcards-for-ELL-836917
Use the flashcards to present the school objects vocabulary.
school objects flashcards
Check the flashcards:

Watch the video using the flashcards.

Flashcards 1. If your students are a little more advanced review there is and there are. Divide the board in two and write the phrases. I used pencil and books.
Teacher: There is a pencil. There are books.
Students can find more flashcards to make more examples.
Flashcards 2. I always find labeling fun. You can do one the board as an example. Label the body parts, clothes and school objects.(Labeling)
Teacher: name the body parts.
Students: mouth! Eyes! Leg!
Teacher: name the clothes.
Students: dress! shoe!
Teacher: name the school objects.
Students: lunch bag! backpack!
Then, assign red for body parts. Ask students to name all the body parts and you circle them. Do the same for clothes and school objects.
Students can do the same using the flashcards. I placed the flashcard into a plastic sheet to go on paperless. Have the students use a blue whiteboard marker for labeling the body parts.
Then, use a black whiteboard marker for labeling the clothes and the school objects.

Flashcards 3. Select a letter of the alphabet and have the students say all the words that start with the letter. As they name the word place the flashcard on the board. Then, have the students do the same on their notebooks with another letter. I chose letter P for this example.
Flashcards 4. Order alphabetically. Write the letters from A to Z on the board and the students find the flashcards to place under each letter.

Flashcards 5. Classroom Monsters. Give a flashcard on a plastic sheet to each student and have them create a monster. I did this one with scissors. I added hair, eyes, nose, mouth, shoes. I guess students are more creative than me, but it will work to show the students the task before they start their own. Students can show their work to the class.
Student: This is my scissors monster. It has black hair. Its eyes are blue and big. It is happy. She is wearing shoes.
Flashcards 6. Sorting the flashcards into categories. I wrote these categories on the board. Students find the flashcards for each category.
Flashcards 7. Name the flashcard. Make a grid on the board using the flashcards. I did this simple one as an example for you.
Teacher: C3!
Students: pencil case!

Flashcards 8. Related words! I placed the pencil case flashcard in the middle of the board. Have the students name all the things that a person can find in a pencil case. As they name the words, place the flashcard or write the word. This is like doing a mind map.
Flashcards 9. Use puzzles when working with the little ones.

                                 This is my Instagram Account.                  https://www.instagram.com/rosamelia_eslteacher/
                                                  Follow me!!