Mostrando entradas con la etiqueta labeling. Mostrar todas las entradas

jueves, 7 de marzo de 2019

St. Patrick’s Day for Elementary ESL

Link to the St. patrick's Day resource: 


I have always liked this Holiday. In the 90’s I was teaching after school ESL and this is an old picture of what we did with the children.

Now, let’s start with the resources that I have prepared.
Puppets. Make puppets with the clovers to review colors.
Teacher: What color is this?
Students: red!
Teacher: It’s a red clover.
Worksheets. Have the students complete their worksheets to review color words.
Then place the worksheet in a clear plastic sheet. Students can trace the words using whiteboard markers and then erase. Save for future worksheets.

I made these colored plates once. I just colored a paper plate in a different color to do sorting. I am recycling them to sort the clovers.
I love the scrabble letters that I made for a product months ago. I am putting them here, you can use them for every single lesson just for making words or for making a crossword.
Or use the color letters printables to make the color words.
Use the writing pad or notebook for writing the color words.
The bottle caps printable is free. I made it years ago and have used it a lot. Here is the link. https://www.teacherspayteachers.com/Product/Number-Bottle-Caps-2155938
More worksheets. Students color and trace the words in the worksheet. Then, cut and paste on their notebooks and write a sentence. 
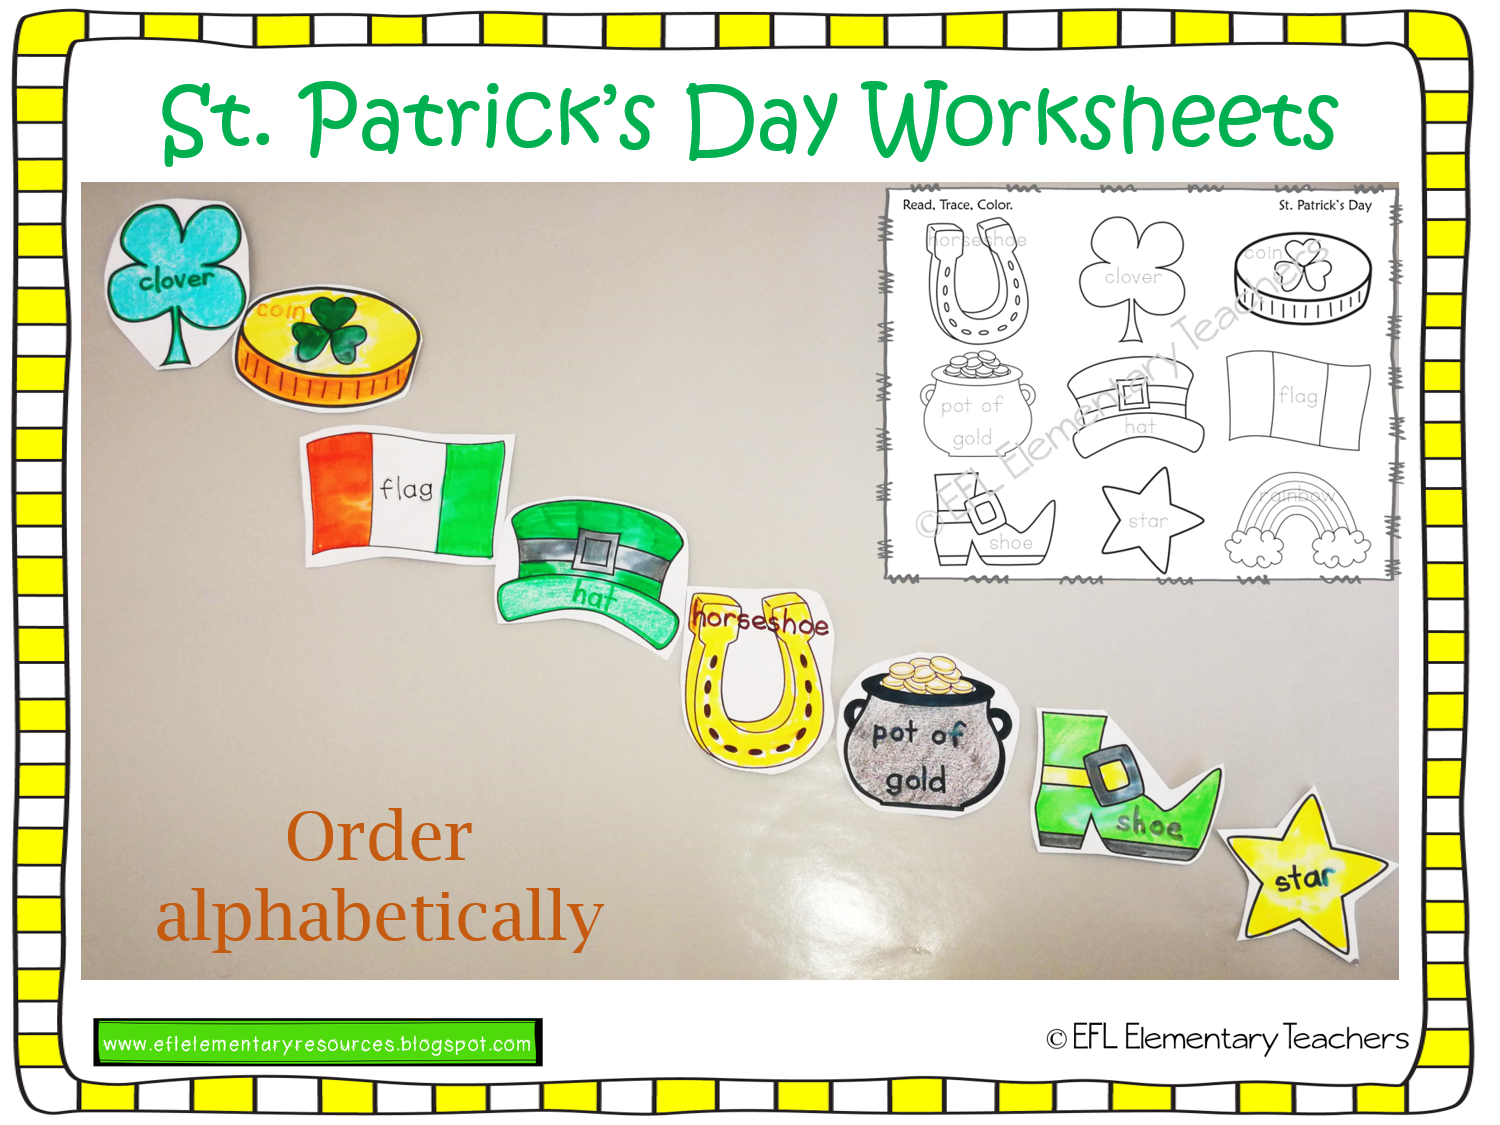
Or the students can color and cut each item and glue them alphabetically.
Listen and color worksheet.
Teacher: Color their hats green, black and yellow.
Teacher: Color his shirt orange and her blouse orange.
Teacher: Color their shoes black.

Review colors and numbers at the same time. Say the color of the numbers in random order.
Teacher: Number seven is orange.
Then, have the students write the color and number words next to each picture.
They can cut each number and dictate the order to put them.
Teacher: six, ten, nine, seven.
I found these cute gnomes images and I had to create something and thought that it could fit for prepositions. Students can color them and make a gnome village per group. I used toilet paper rolls, paper towels rolls and carton eggs. I glued the gnomes onto craft sticks and then made a slit onto the carton egg and placed the gnomes and the rest of the pieces.
I used them for prepositions. Students listen and place the gnomes and other items as they listen or they can give the instructions and the other groups follow.
Teacher: The gnome is next to house number 1.
The gnome is behind house number 3.
The gnome is in front of house number 4.
The clover is behind the yellow house.
A craft. I grabbed a black plastic plate that I had around the house, cut the middle of the plate to make a wreath. I glued all the pieces.
Let’s dress the leprechaun. Dictate the color for each clothes piece.
That give directions for gluing them.
Teacher: Color the hat green and the belt is black with yellow.
Glue the socks on the leprechaun. 

More clothes and body.  Color the pictures and label the parts of the body and the clothing pieces.
And flashcards! Yes, again… use for many games for those dreaded 5 minutes left.


miércoles, 17 de octubre de 2018

Insects unit for Elementary ESL

Very few books have units related to insects, so this could be a unit to include for those extra lessons that you want a quick unit to review basic grammar structures and add new words.
Here is the link to the resource.
https://www.teacherspayteachers.com/Product/Bugs-or-Insects-Unit-Resources-for-Elementary-ESL-4136295
 I would love that you leave me some feedback at the comments section of this blog post.


And yes, I always start with flashcards as my visual aids to avoid translation and stimulate speaking.

What color are the bugs? Place all the flashcards on the board and ask questions.
Teacher: What color is the butterfly?
Student: It’s pink and green.
Teacher: name two red bugs.
Student: ant and ladybug.
There’s a worksheet to review colors and prepositions.
 Teacher: What color is the ladybug?
Students: The ladybug is black and red.
Teacher: Where is the ladybug?
Students: The ladybug is on the tree.
Have the students write a paragraph about the picture.


Bugs are everywhere. I researched a little to make the flashcards to indicate where I can find the bug and their habitat. I also added the sun to imply that the bugs like warm weather. I made an example with a butterfly and a ladybug and created a mind map.
Teacher: Where can I find a butterfly?
Student 1:  On the rock.
Student 2:  On the leaf.
Student 3:  In the garden.
Student 4:  On the flower.

Place a habitat or place flashcard on the board and ask which bug is most likely to be found there. I suggest that you research about bugs and the students as well.(mind map)
Teacher: Here is the mountain. Which bug can I find there?
Students: spiders !
Teacher: yes! More examples!
Students: mosquito!
Teacher: NO!!
Place an insect and a habitat or place flashcard, one next to the other. (mind map)
Teacher: Is there a grasshopper on the plant?
Students: Yes, there is.
Teacher: Is there a scorpion in the farm?
Students: No, there isn’t.

And the cutouts are a good visual for prepositions.
Place the habitat or place and a bug. Ask questions and have them write the answers on their notebooks and they can even draw a picture.
Teacher: Where is the caterpillar?
Students: The caterpillar is on the leaf.
You can also give the printed bugs and habitat to the students. They can create a poster and a text. Do a show and tell. Have the students ask questions.
Student1: Is there a worm?
Show and tell student: No, there isn’t.
 Student1: Is there a fly?
Show and tell student: Yes, there is. It is in the house.
Hang the posters around the class.

Bugs feed themselves! Use the flashcards to show what a specific bug eats.(mind map)
Teacher: Look at the bee? What does it feed on ?
Student: watermelon, nectar from flower, soft drinks.
Or, use the flashcards to compare an item and which bugs eat them.(mind map)
Teacher: Which bug feeds on grass?
Student: worm and grasshopper!
Assign a bug to each student. They should investigate what does that specific bug eat or feed on. Then make a writing craft. I saw a similar one on Pinterest and I will recreate mine. Then have individual students come and show their bug.
A simple worksheet to review big and small. Have them sort the bugs and glue them. Model sentences.
Teacher: A big red ant.
Students: A small red ant.

Place the bugs flashcards on the board and have the students organize them by size. 
Teacher: The big red ant is small.
Students: The green grasshopper is big.
Teacher: The black fly is bigger than the ant.
Students: The black fly is smaller than the butterfly.
Ask questions.
Teacher: Which is bigger, the butterfly or the cockroach?
Students: The brown cockroach is bigger.

Bugs have a body. Use the flashcards to introduce the body parts. The students are familiar with eye, head, leg but the other words are new and are the same for all the bugs: thorax, abdomen. (LABELING)
Use the worksheets for the students to do the same to review body parts. Students can use the labels or write thier own words.

A game to wrap the unit up. Place all the flashcards on the board and start saying facts for the students to guess which bug is the one you are talking about.
 Teacher: It has two antennae. It has six legs. It is small. It doesn’t have ears. It never sleeps. It red or black. Some people can eat it. It can crawl. It lives in colonies. It eats sweets.
Students: The ant!
It is good that you research about the insect facts to play the game, or students can research and play as the teacher and the class has to guess.

Bugs have predators. Explain about predators. I placed as an example the ladybug which is eaten by spiders, dragonflies, birds and frogs using the flashcards. (mind map)


viernes, 7 de septiembre de 2018

Transportation Theme for Elementary ESL

Link to all the resources for the Transportation Unit:


Sort the  55 flashcards by land, sea, sky.

Transportation and adjectives: big, small, long, short, old, new, cheap, expensive. Review the adjective words using your arms and hands. Stretch your arms for long and hold your hands closer for short.
Write the opposite words on the board. Hand in all the flashcards and have them place the vehicle where it belongs. Students must identify the vehicle, the size, length, old or new and price.
Student: This is a school bus. It is big and long.


There is a worksheet to review the adjectives. Have the students listen to the instructions and color the cars.
Teacher: Point to the small car. Color it blue. Continue in the same manner. When the students have finished, have them place the adjectives that identify each vehicle.(LABELING)


Or have the students paste a vehicle on a sheet of paper and write adjectives to describe it.

Explain that you use the preposition by to express ways to travel.
Teacher: I am going to the library.
Students: How are you going?
Teacher: By subway.
Continue asking and answering questions. Have the students write sentences.
I am going to the island by ship.


Place the number flashcards around the room. Tell the students that each number is a garage or parking place for some vehicles.
Hand in the flashcards and give instructions.
Teacher: bus, go to garage number seven.

Transportation and verbs.
Tell the students that we use these three main verbs for the vehicles. Place them on the board and create a mind map.
Teacher: I can ride an elephant.
Students: I can ride a bike.
I can ride a motorcycle.

Give more examples using drive and fly using all the flashcards.

A worksheet to wrap this up.
Have the students sort the pictures into ride, drive and fly. Then using the bubbles provided, the students write sentences. ( I can drive a blue car.)


There are more flashcards to review “ How do you get to work ?” “ How do you get to school ?”

Community Helpers drive vehicles.
Have the students sort the flashcards in drive, ride or fly.
Model a sentence.  Teacher: The fire fighter drives a fire truck.
Students make more sentences.


And worksheets for writing. Students write in the bubbles sentences such as: I am driving a school bus.


 I made several worksheets for different skills. 


Listening. Students color as indicated by the teacher.
 Teacher: It is a pink blimp.
Speaking. Students point and say a sentence.
Student: It is a yellow submarine.
Have the students cut the cards and grab their favorite. At your signal have them get together in groups of the same favorite vehicle.
Teacher: These are trucks. (pointing close to you)
                Those are cars. (pointing far from you)
Students give more examples.

Write the words on your notebook. Providing multiple exposure to the vocabulary words help with learning and meaning.


Road game. I was looking for a game and found an interesting one on Pinterest, I adapted it for ESL. Simply print out as many roads you need and write the vocabulary words on each side of each road piece as in dominos, there must be 2 or more of the same word. Print the people in their vehicles and the signs. Have the students play as in Domino but the pieces will be the road items.


Prepositions cards. Use them for writing purpose or to play sentence association game.

More ideas,activities and printables at my other blog post.

Please follow me! Leave your comments or special requests.